A SIMPLE GUIDE TO GETTING STARTED WITH WINDY
Recently on a long leg of a nav I looked down at my tablet and I found myself in the Windy Weather forecast. It was only a fat-finger moment in flight, but it then led me to look into Windy in a bit more depth. Here’s what I found.
If you don’t already have a EFB account like AvPlan or OzRunways, and you’re leaving the training area regularly, now is the time to get on board. Windy is a digital map that displays the weather forecast with an animated overlay of the wind direction and its intensity. They can feed this into EFB apps, but it is also a standalone product that you can download as an app or view at windy.com.
Contrary to the name, it does a lot more than just tell you the wind. And make no mistakes – this is by no means the weather information to make a final flying decision. The benefit of Windy is to have a weather visualisation tool that helps you to understand the weather movements, in addition to reviewing area forecasts and alike.
So, let’s dive in and go through a few of the features that I think help with weather observations and understanding the technology.
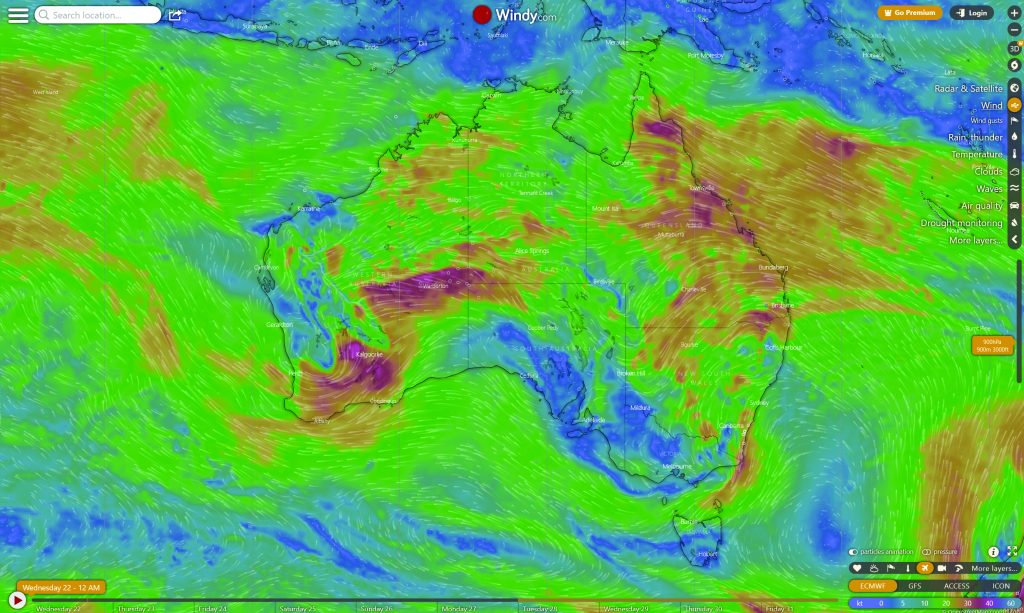
By default, Windy will display the current wind information on a graphical rainbow coloured heat map at surface level and down the bottom is a play button allowing you to watch weather patterns roll on through as time and forecasts progress. This alone is quite mesmerising to watch, but it also tells you a lot about what weather patterns are passing through and also providing it based on a timeline. When you look at an area forecast and see TEMPO or INTER comments at UTC time, you can start to understand how nice it is to have this visualisation tool to assist with your weather comprehension. Let’s face it, not everyone enjoys the great decipher of shorthand weather updates.
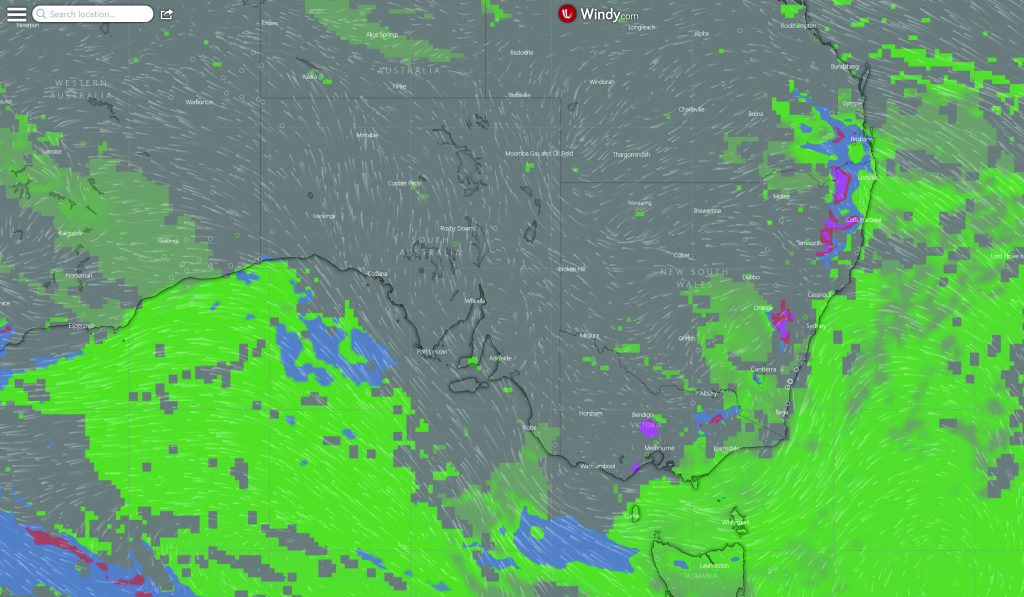
This initial overview interface is probably what most people are familiar with. Perhaps you are like me and figured that was where it ended, but boy was I wrong.
TIME AND ALTITUDE SLIDER
First off, surface level wind speeds are helpful… but not that helpful for when I am wanting to be thousands of feet up in the air. Fortunately for you, Windy has a solution. Just jump across to the slider on the side of the Windy app and you will have the ability to slide the height of the weather model up and down to tweak the altitude to your needs. From a practical standpoint this is especially handy for being able to visualise at what altitude the wind direction changes, and at what speeds. This is extra helpful on those really long cross-country flights when tweaking your route to gain an extra 10 knots of tail wind or avoid a sluggish headwind can make a big difference. If you’re eyes start to glaze on a grid point wind and temperature forecast, this interface can help.
CLOUD BASE AND LOW CLOUDS
I really love this feature. A band of low clouds has the potential to ruin any pilot’s day. With the low cloud model, Windy will show you a forecast for the cloud base and as you hit play it will show its movement across the map. It also has the ability to show you the altitude of the tops of the clouds. As a VFR pilot, if I need an app to know where the top of a cloud is then it’s just a no-fly day for me, but it’s interesting information to look at when big storm cells roll through. Again, you’re not going to use this as your only decision-making tool – but it’s a useful tool to carry.
THE PERKS OF A FREE ACCOUNT…
If you jump across to the website after filling out a few form fields you can create yourself a free account. The one big benefit to signing up is you will now get access to a few small perks. The first thing that I like to be able to do is change my altitude settings to feet and wind speed to knots, and distance to nautical miles. I know it sounds simple, but it will save you from having to continuously convert the units of measurement as you use the app.
Another cool perk is that you can set up all of your layers with wind speed, aviation cameras and isobars the way that you like it. So, next time you login everything is ready to go.
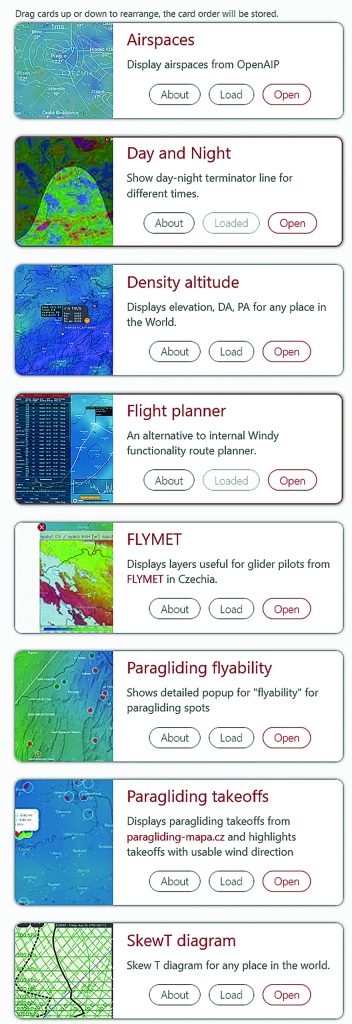
The final perk, for those feeling adventurous, is to test out some of the more advanced features such as ‘plugins’. It almost seems that there is no shortage of additional overlays and data points, especially for those interested in aviation. They have plugins for ‘Flymet’ (glider information), a flight planner, day and night mode, density altitude and a whole lot more.
For me, I decided to give the flight planner a go. I was this deep in, so at this point I thought ‘why not?’. I jumped in and added a long cross country flight that I have been wanting to do for over a year. The interface was really nice, but given I am already using an EFB to do this for me it did feel like a bit of double handling. But for those that are used to a paper map looking or really appreciate being able to visualise the data, it is pretty impressive.
Probably the most useful part of the overlay I found was the terrain overview section. This basically shows me a 2D line going up and down showing the angulations in terrain along the journey. At the very least it is a good prompt to check and ensure that the altitude that you have typed into your planner actually makes sense in context of what is down below.
At the time of writing, Windy is fairly well integrated with most EFB’s, a few clicks and away you go. But I suspect that the line between the two will blur so much that it really is part of the experience rather than an ‘app within an app’ that pops up, and rightly so. Without reading a single word, or translating any three letter acronyms. I can very quickly absorb and have a very good snapshot of what is happening outside.
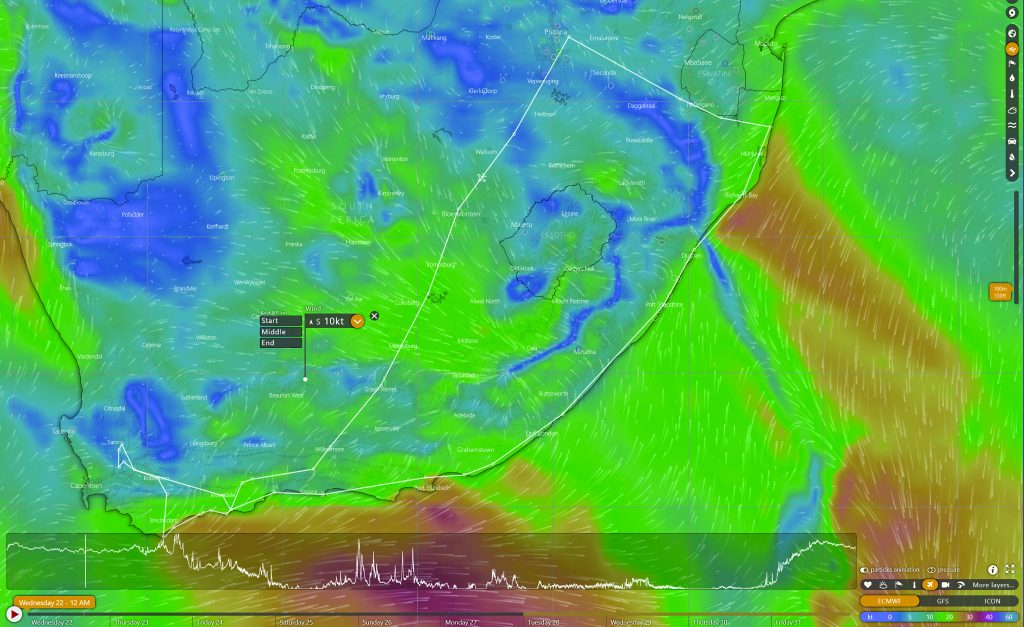
Example navigation with multiple waypoints set within Windy
This is only the tip of the iceberg when it comes to features of Windy, let alone the additional features you can plan with in an EFB setup. If you have never clicked around with the app, download it and give it a go – I am sure you will be pleasantly surprised.
And if I hadn’t mentioned it enough, let’s be clear – Windy is not where you should be getting the latest aviation weather. This should always come from the Bureau of Meteorology. Having said this, there is nothing stopping you from gathering supplementary data to gain an additional layer of information about potential flight conditions. The Aviation forecasts are also not available for if you are wanting to go flying in say 5 days’ time. For me it can be a bit of an ordeal to have reorganized my life so that I can get to the airport, so I keep a pretty close eye on things like this to keep the odds in my favour. I also really appreciate, above all else, the data visualization aspect.


