GREG’S JABIRU J430 LIQUID COOLED CONVERSION
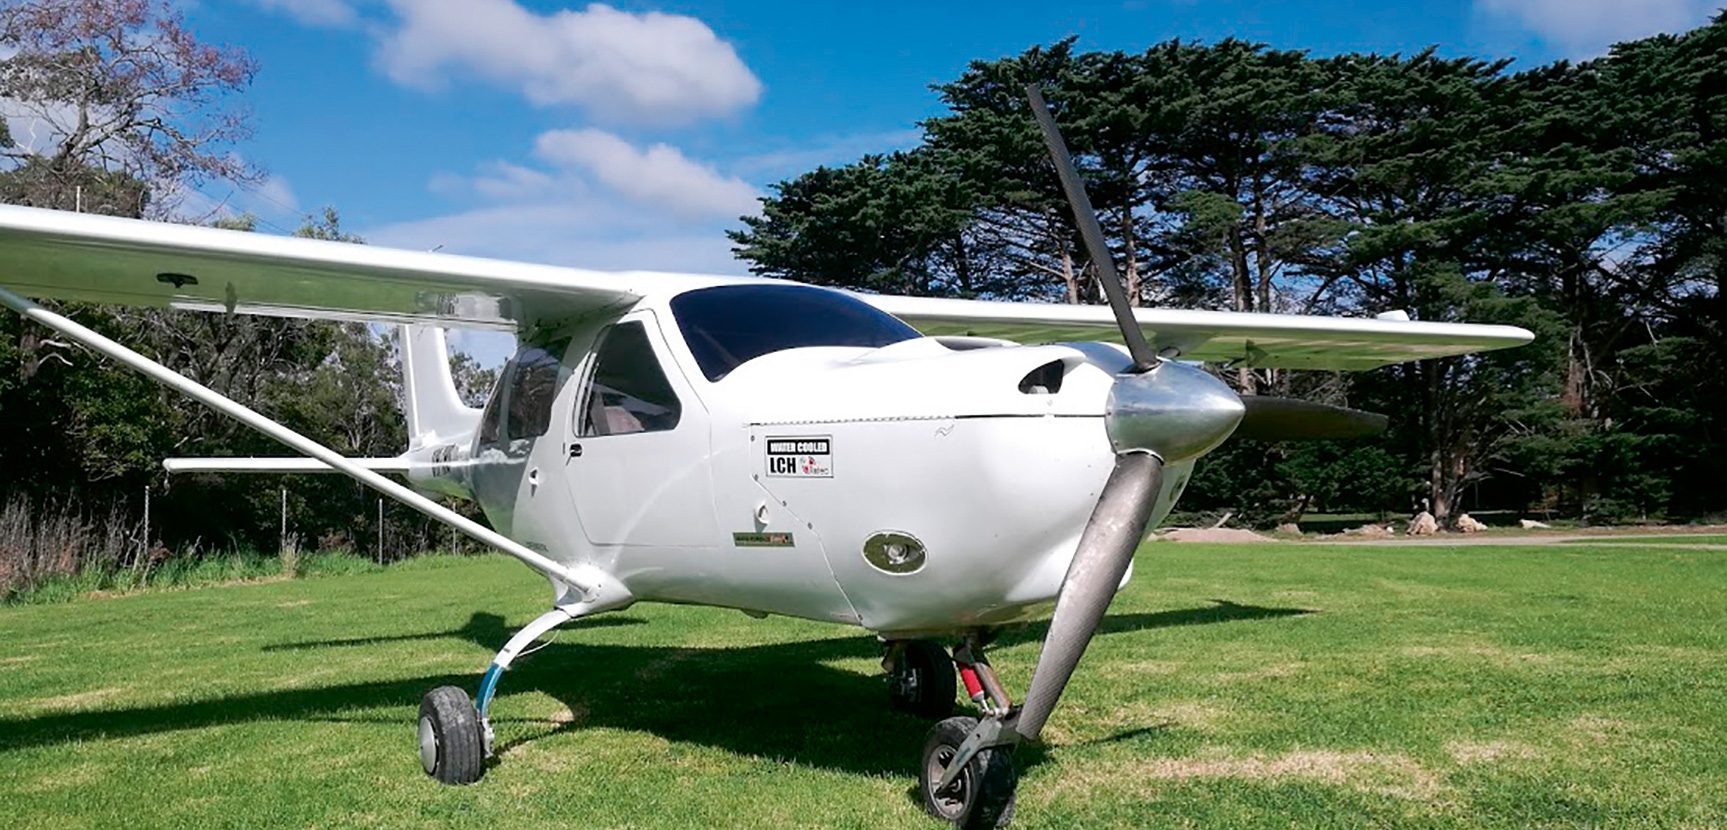
After spending what seems like a lifetime building my Jabiru 3300 powered Sonex, I decided I needed something with a little more utility. After some research I came across a nice four seat Jabiru J430 – this one is powered by the Camit 3300 which is essentially the same billet as the Jabiru engine.
The demo flight went well, the price was okay, so I went ahead with the purchase! Soon after, I put the plane to work. The initial few flights went well, but on the warmer days I noticed the Cylinder Head Temperature (CHT) were getting way too high on the climb, so I’d have to pull some power and lower the nose to keep things cool. I spoke with the previous owner and he explained that this is just something I’d have to manage!
I noticed the aircraft was fitted with a Rotec TBI fuel system – the TBI-40-S. I have one of these on my Sonex as well and they are brilliant. This got me thinking I could talk with Rotec about making the TBI a little richer at the top end to help keep the CHT in check. I spoke with Tony at Rotec and he suggested we could tweak the spray bar to give just a little more fuel at the top end. Once the modification was complete, it could run much richer – perhaps even a little too rich, so I had to lean back to get her to perform. By the way, the Rotec TBI affords the pilot fully metered in-cockpit mixture control. It was still way too hot on the CHT, so back to square one!
While I was talking with Paul Chernikeeff, the owner of Rotec Aerosport, he suggested that a better course of action would be to tackle the problem head on with a set of his Rotec liquid cooled heads (LCH). At first, I wasn’t so keen on adding the complexities associated with a water-cooled system. After understanding their past success stories and then seeing just how straightforward the kit was to install, I was convinced this was the way to go. Paul explained that water cools at about 30 times the rate of air – hard to argue with that! The weight penalty was negligible, as each of the six heads are physically lighter than the stock air-cooled head so once the coolant, pump and radiator were added, things worked out about the same.
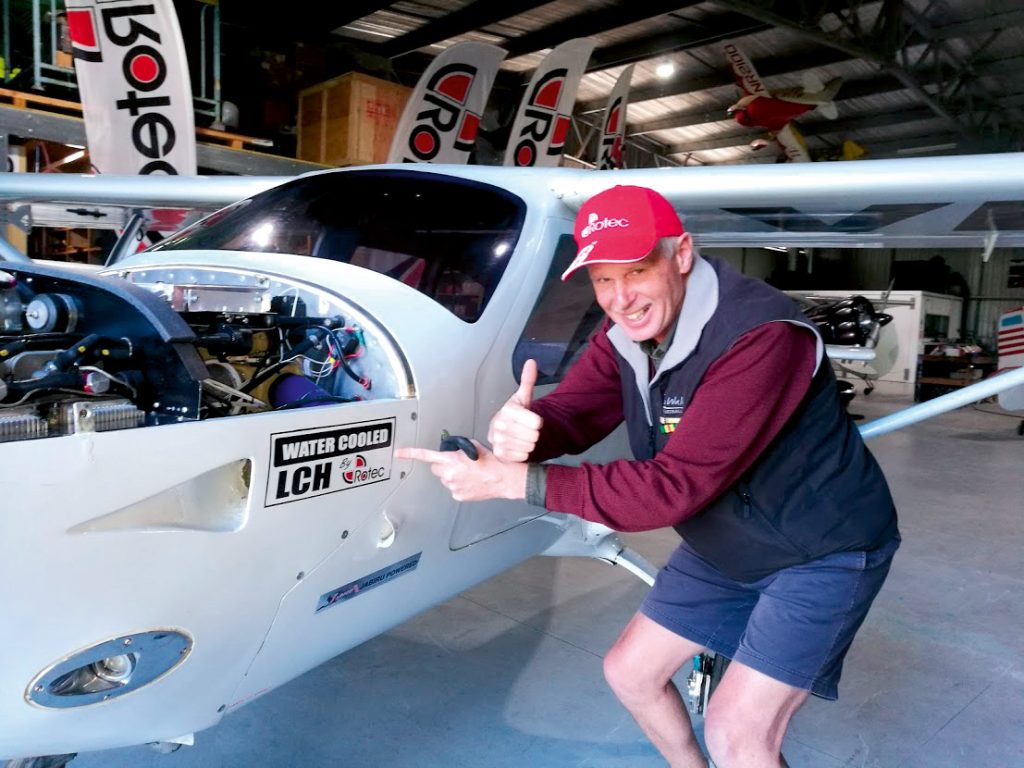
Rotec offered to assist with the installation and so with that I flew the plane down to Tyabb, Victoria, where Rotec Aerosport are based and spent a few days there installing the kit. It was great having the Rotec team on hand just in case but in reality, the installation went as per the manual and I was mostly left to my own devices.
It was suggested the radiator, new and from a Honda CB 1300, be mounted on top of the engine accessories just under the cowl and then employ a narrow intercooler scoop to feed air directly into the radiator. This configuration had been used by other LCH customers with positive results, so it’s a neat solution and I’ve got to say also looks sharp!
Though not entirely necessary, we decided to not waste the original incoming air and make a traditional engine plenum chamber. This was made from thin fiberglass sheet which was trimmed to carefully follow the shape of the engine’s perimeter at the horizontal half-way line of the engine. Openings from the stock Jabiru cowl blast into the top plenum, causing high pressure above the engine. The air is then forced over the crank case, down through the cylinder fins and into the low-pressure section underneath the engine where it exits around the nose wheel opening. Nice!
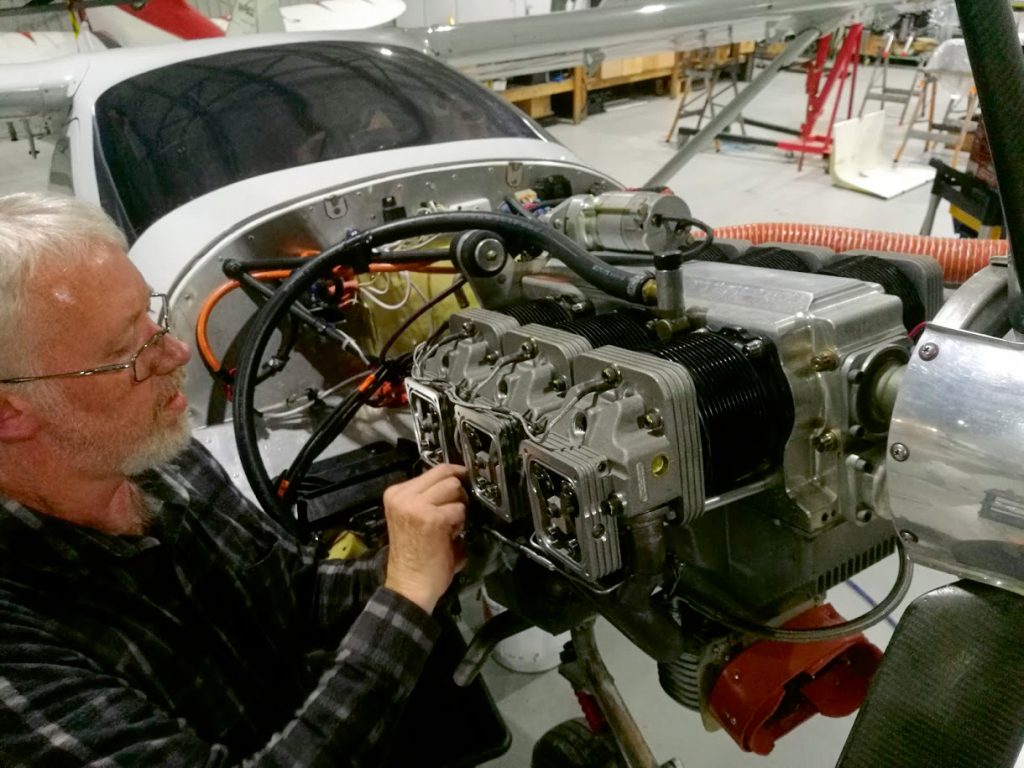
Next was to mount the small brushless Bosch electric water pump which feeds water directly into 35mm pipe with six 5/8” barbs attached, called the coolant common rail. From the common rail, these six barbs feed water via coolant hoses into each of the six separate liquid cooled heads, three 5/8” hoses on the left bank and three on the right. The six Rotec LCH water inlet fittings sneak coolant in between the pushrod tubes from the underside of the engine. On the top side of the engine, the left and right banks of heads have all the hot water outlets daisy-chained together where they junction on route back to the radiator for cooling.
Installing the Rotec heads is exactly the same as installing any stock Jabiru head – the same bolts, torque, valves, pushrods, pushrod tubes, rockers, even the spark plugs – all of these are reused from the original heads. The engine side of things was relatively straight-forward. I had all the heads installed and adjusted by the end of the first day. The slower part of the conversion was dealing with the plumbing, locating and mounting of the radiator and fitting the cooling scoop to the top cowl. That took a good day to nut out. The scoop was attached to the top cowl with some fiberglass and resin, some filler, primer and a quick paint job.
With the installation now complete, Rotec suggested we install their Jabiru e-ignition. I had been having difficulties starting the plane in the cooler months, but Paul guaranteed the engine would start first blade or two and that any hard starting would be a thing of the past. Installing the e-ignition was super easy. No timing, no setting gaps. I just pulled one of the stock Jab coils and replaced this with the Rotec Hall ignition sensor, which is designed to pick up the original flywheel magnets. Finally, mount the module, the new high energy coil, then run the new coil lead into the original distributor cap. That’s it!
For testing, we filled the radiator and the cooling system with a mix of 50/50 glycol and water. It took a little time to bleed all the air out. As the water pump is electric you can bleed the entire cooling system without the engine even running. For the same reason, you can also run the water pump for a few minutes after shutdown to cool the engine, a bonus. With everything all buttoned up, we pushed the plane outside, tied her down and began some preliminary ground runs. After a quick prime of the TBI, the engine literally started first blade! Yep, the e-ignition sure works!
We ran the engine with the top cowl off, so no air scoop was in play and no matter how much power I used, the engine did not even look like getting hot. The highest I saw on the coolant get was about 70°C. During an hour of testing, we checked for water and oil leaks, made sure there was no chafing and for anything that could be loose or out of place. All good on that front.
I put the top cowl back on and decided to taxi out for a quick test flight. I lined up runway 17 at Tyabb and blasted off. I was at full power and climbing well, but my old habits saw me nervously scanning for the temperatures. What’s this? A Cylinder Head Temperature of 95°C on the heads, and just 72°C on the coolant? That can’t be right…I continued to climb past 3,000ft still at wide open throttle with no change to the temperatures. Oh man, I thought this is unheard of! I flew around for an hour or so and was cruising at about 76°C on the coolant. I had a smile across my face like split watermelon.
To date, I have around 75hrs on the LCH and I hardly even bother looking at the temperatures today. The head bolts have been checked three times and have not moved, nor has the valve lash, rock solid. Even during summer, the hottest I have seen the coolant is 82°C.
To me, the LCH is a game changer and although I know there have been many conversions flying before mine, but there is not much said about it which is why I felt so compelled to write this article. If anyone out there would like to get in touch with me about any aspect of this conversion, I’d be more than happy to talk with them. Heck, I’d be glad to take them up for a ride. Rotec Aerosport hit a home run with this one.